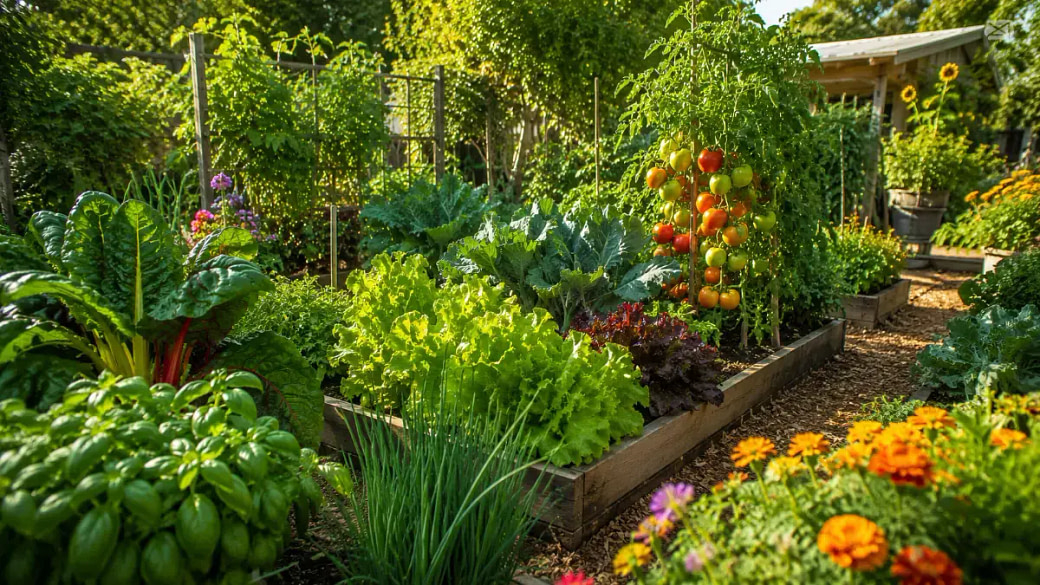

Starting Your Organic Vegetable Garden
Growing your own vegetables is one of the most rewarding things you can do. Whether you have a large backyard, a small courtyard or even just a sunny balcony, healthy food begins with healthy soil.
The secret is simple:
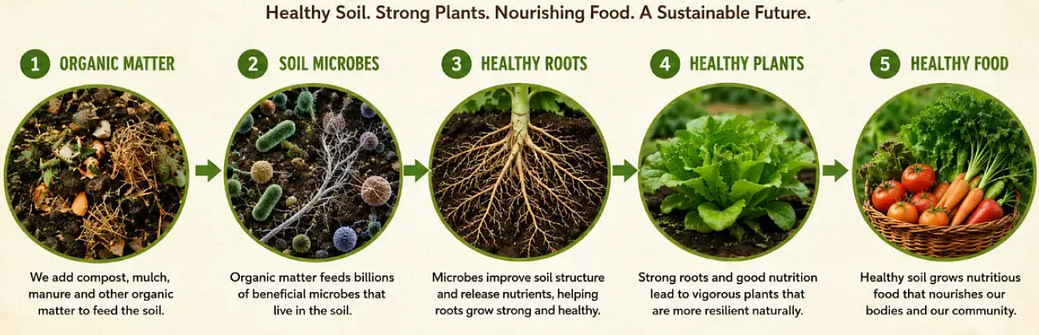
Feed the soil microbes, and they will feed your plants. Healthy plants then produce healthy food for you.
Step 1 – Choose the Right Site
A good location is the foundation of a productive vegetable garden.
Choose a site that:
- Receives at least six hours of direct sunlight each day (a north-facing position is ideal).
- Is close to your home for easy access and regular harvesting.
- Has a convenient water supply nearby.
- Is away from large trees that compete for sunlight, moisture and nutrients.
- Is protected from strong winds where possible.
- Has good drainage and is not prone to waterlogging.
Improve Your Soil
Almost every soil can be improved by adding organic matter such as:
- Compost
- Composted animal manure
- Worm castings
- Humus
- Organic mulches
Healthy soil is built over time—not overnight.
Step 2 – Select Your Growing Method
Organic vegetables can be grown successfully in many different ways. The best choice depends on your available space, budget and physical ability.
In-ground Garden Beds
Perfect where there is plenty of space and few competing tree roots.
Pots and Grow Bags
Ideal for patios, balconies and small courtyards. Climbing vegetables can be trained up walls or trellises.
Wicking Boxes
Raised containers with built-in water reservoirs. Excellent for small spaces and gardeners who prefer not to bend down.
Wicking Beds
A great option where:
- digging isn't practical,
- rental properties prevent permanent gardens,
- nearby trees compete for moisture,
- water conservation is important.
Soil-Free Growing
Some organic growing systems use natural growing media instead of soil while still avoiding hydroponic methods.
Banana Circles
Excellent for larger blocks where there is enough water to support composting bananas and other tropical plants.
Hügelkultur Beds
These raised beds contain buried timber that slowly decomposes, improving soil life and storing moisture. They are ideal for growing fruit trees, shrubs and perennial vegetables while reducing watering.
Step 3 – Feed the Soil Microbes
Healthy plants don't simply need fertiliser—they need living soil.
The billions of bacteria, fungi, worms and other beneficial organisms living in healthy soil make nutrients available to plants, improve soil structure and help protect crops from disease.
To thrive, these organisms need:
- Plenty of organic matter
- A balanced supply of minerals
- Moisture
- Air
- An environment free from harmful chemicals
No matter how you garden, feeding the soil biology is the key to long-term success.
A Simple Bed Preparation Recipe
This program uses approved organic fertilisers, although home-made composts and well-aged manures work just as well.
The objective is to steadily build soil organic matter and mineral reserves over many years.
Step 1 – Prepare the Bed
For a new garden:
- Loosen or dig the soil to a depth of 20–30 cm.
- For established gardens: Digging may not be necessary.
- Simply top up the organic matter and apply 5–10 cm of mulch before planting.
- If the soil is already soft and healthy, plant directly through the mulch.
Step 2 – Feed the Microbes
Before planting, apply:
- Organic base fertiliser (such as Katek Organic Super Growth) at 100–300 g per square metre
- Compost, aged manure or mill mud at 1 kg or more per square metre
- Liquid lime to supply readily available calcium
- Optional biological stimulants such as:
- Liquid seaweed
- Fish emulsion.
- Mix these materials into the top 5 cm of soil and water thoroughly to activate soil biology.
- Optional biological stimulants such as:
Step 3 – Plant
Seeds
- Sow into a shallow furrow.
- Cover lightly with soil.
- Water gently.
Seedlings
- Dig a planting hole.
- Add approximately 500 mL of water.
- Plant the seedling.
- Apply 2–5 cm of mulch, or restore the deeper mulch layer around established beds.
Step 4 – Keep Feeding During Growth
Healthy soil biology needs continual food.
Once seedlings are established, apply:
| Time | Apply |
|---|---|
| Week 1 | Liquid seaweed |
| Week 3 | Fish emulsion |
| Week 5 | Molasses |
| Week 7 | Repeat the cycle |
Continue this fortnightly rotation until harvest.
Step 5 – Maintain Calcium Levels
Calcium is essential for healthy cell walls, strong growth and good soil structure.
Apply liquid lime as a soil drench:
- After 2 months
- Again after 4 months
- Then every 6 months to maintain healthy calcium levels.
Remember...
Organic gardening isn't about feeding plants—it's about feeding the living soil.
When the soil is alive with microbes, worms and fungi, they unlock nutrients, improve soil structure and help plants resist pests and disease naturally.
Healthy soil → Healthy plants → Healthy food → Healthy people
Start by building your soil, and each season your garden will become more productive, easier to manage and more resilient.